
How to Restore Your Leather Handbag
For many, leather handbags and purses can be a wearable piece of art that defines who we are out in the world. And for many... it's a real investment that many of us are willing to make. You'll want to keep it for a lifetime, so here are some excellent tips on how to take care of your investment.
Cleaning your leather handbag/purse
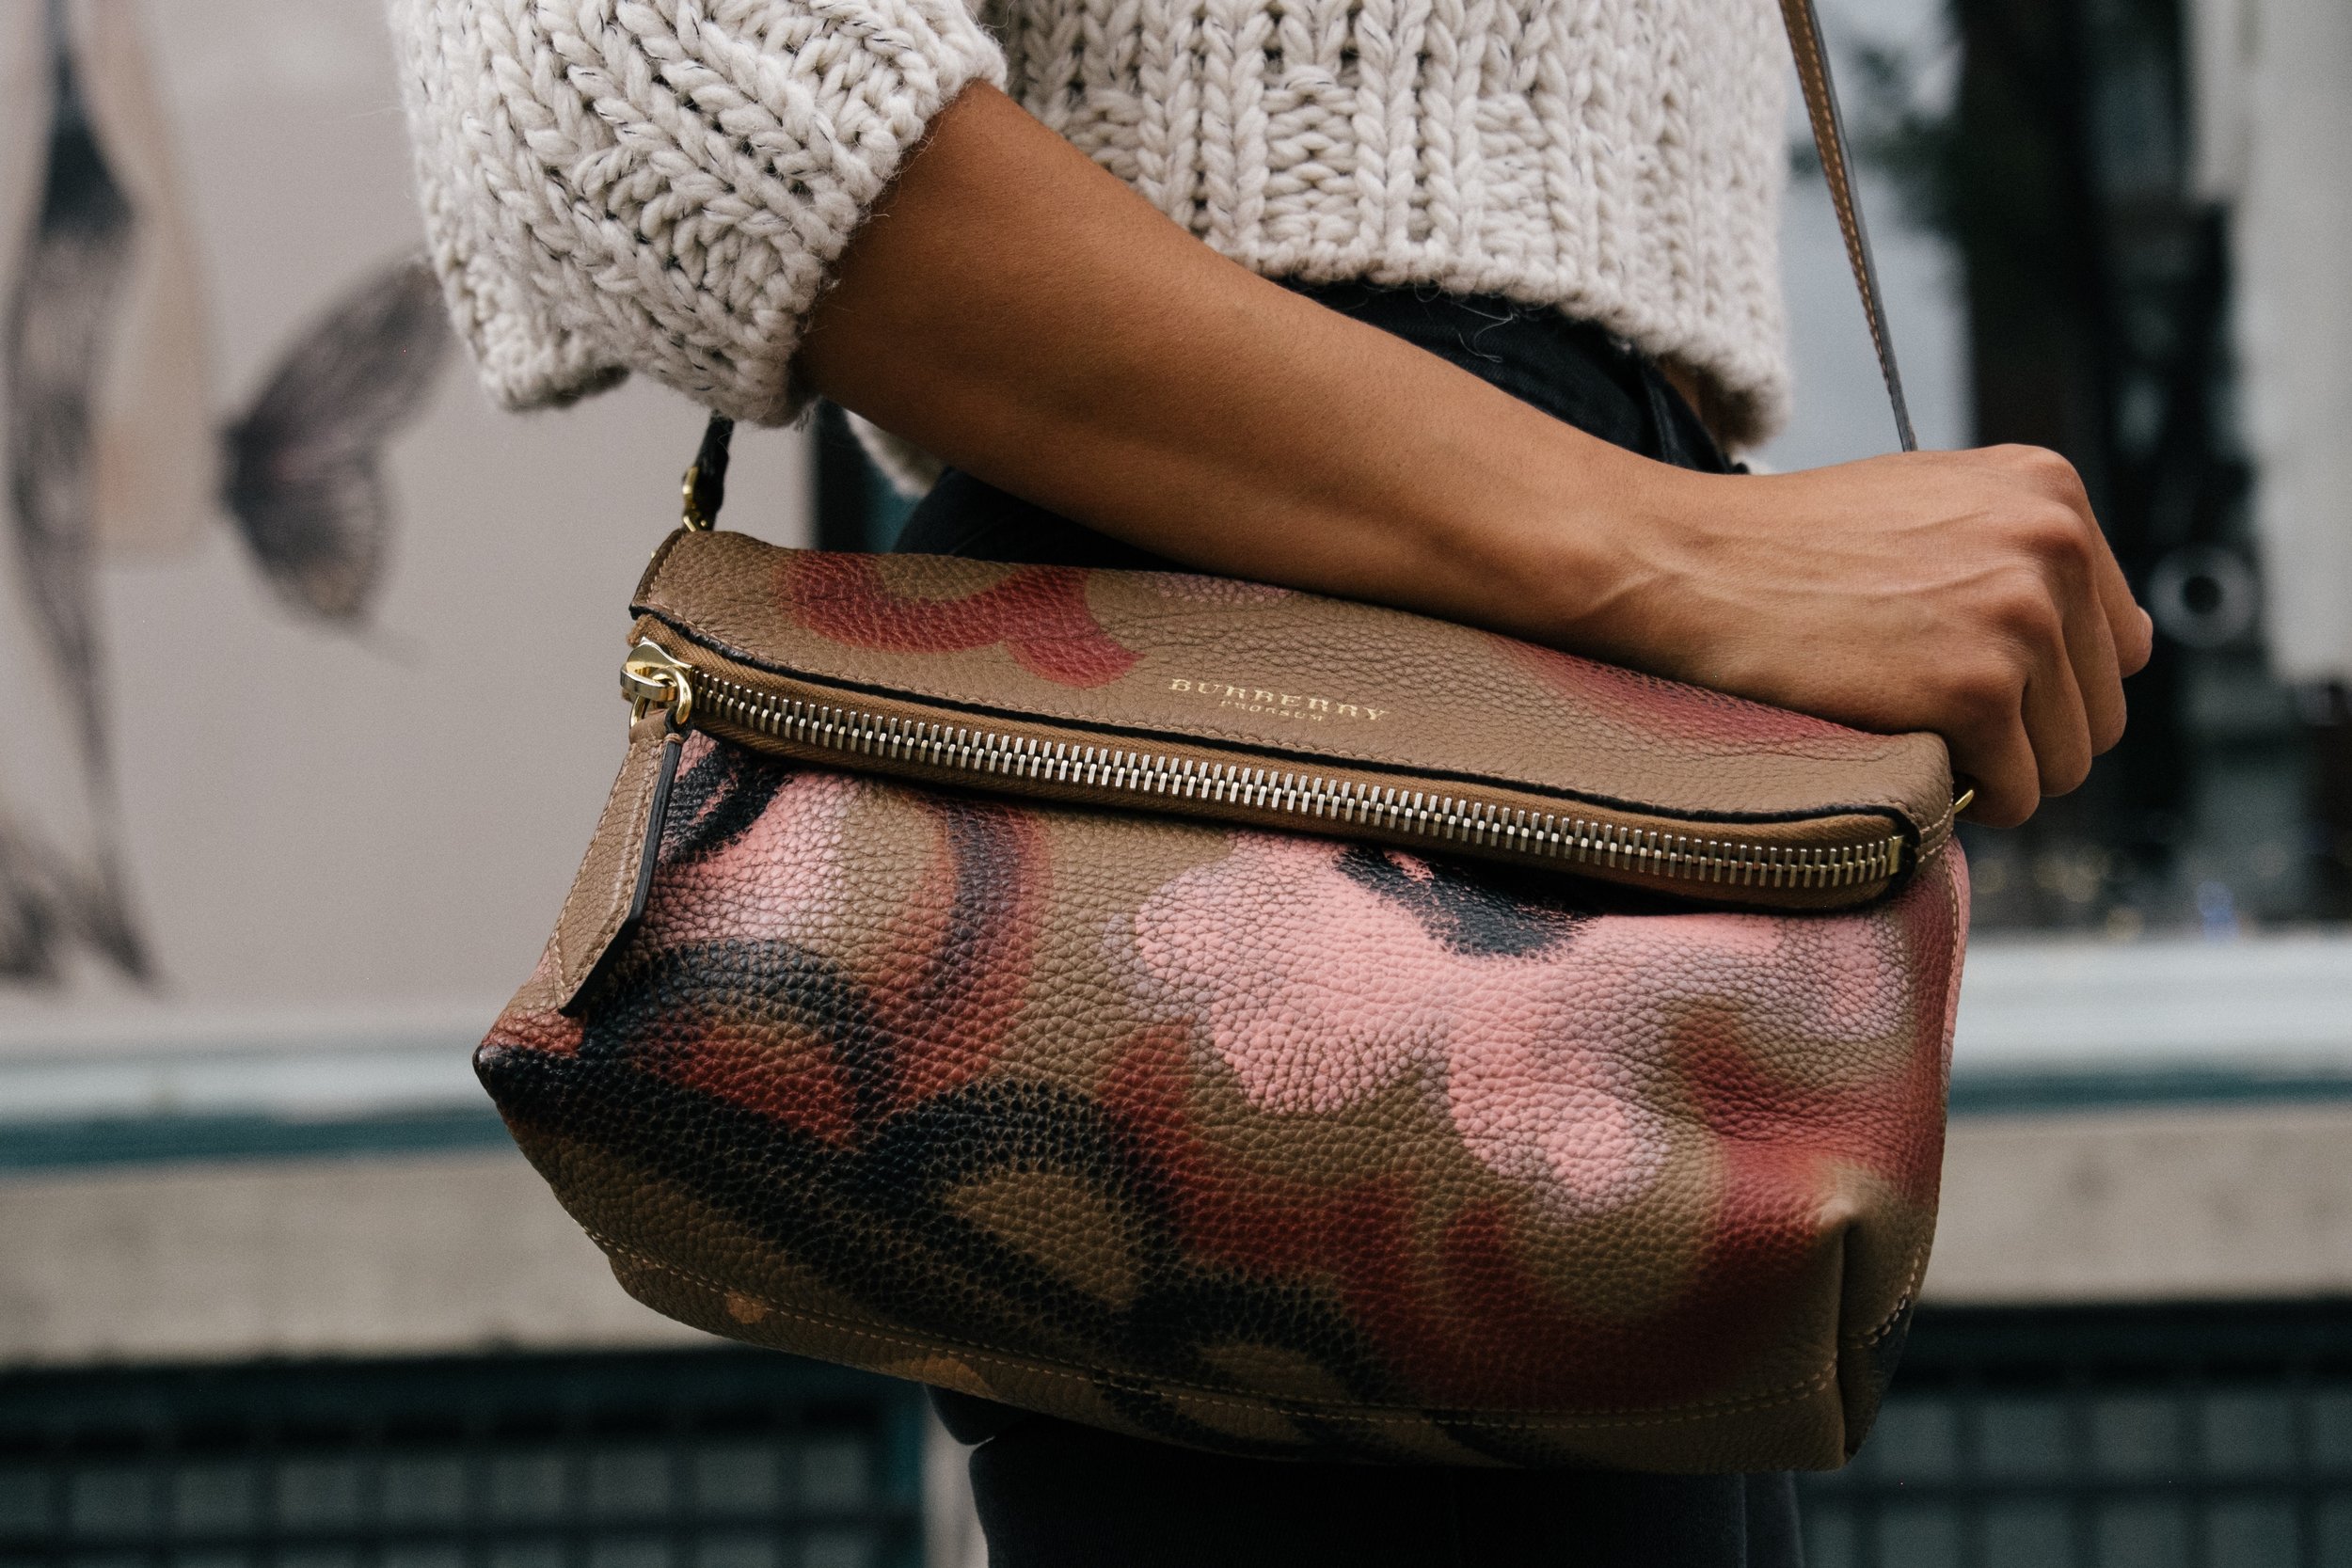
For many, leather handbags and purses can be a wearable piece of art that defines who we are out in the world. And for many... it's a real investment that many of us are willing to make. Though women tend to "invest" in handbags more than men, the men of today carry handbags and leather luxury goods more and more.

A Proper Man-Purse.
Like a diamond engagement ring or collector's watch, when you've invested a lot of money in a handbag, you'll want to make sure it sticks around for a lifetime. But taking care of leather goods can be tricky - and when it's an item you've fallen in love, with much more lies at stake.
So, how do you clean a leather handbag?
The very first place to start is with an ounce of prevention. This should begin the day that you purchase your leather handbag and you should treat your bag with a cream or leather care product designed for it, at least once every 60 to 90 days.
Secondly, regular cleaning should be a no-brainer - even if it's a quick wipe down. For quick, regular cleanings simply wet a damp cloth and remove dust and build up that can damage the bag, it's lining and interior pockets. But once your bag has some age or wear on it, it will typically need a more thorough cleaning by a professional color restoration specialist every few months to keep it like brand new.
“Protecting your handbag can prevent the pentration of grease, staining, and all other spills and mishaps later on. ”
Here are the DIY do's and don'ts.
- Once per week - wipe your bag with warm, soapy water. You can mix a small amount of mild liquid soap with warm water and use a soft damp cloth to wipe away any dirt from the outside of your handbag. Make sure to wipe with the grain of the handbag to avoid ruining the leather. If you've ever sanded a board or trimmed a filet, you get the idea. Grain is where it's at.
- Avoid the usual household wonder liquids. You should never pull out baby wipes, vinegar or any other 'home remedy' for cleaning or tackling stain removal on your luxury handbag. These products have chemicals (whether occurring naturally or man-made) that can destroy your hard-earned investment.
- Ink and pen marks! The key to removing ink marks is to treat them immediately. Your best bet here is to call your local Color Glo Specialist and schedule an appointment. If you're a die-hard or simply unable to, try a special ink removing product for leather and follow the care instructions, making sure to condition the area afterward. Then leave it to dry properly before using the handbag again. If the ink stains are old, do not try to remove these yourself. Seek professional help... you will need it.
- Stuff your bag while not in use. If you're a collector of leather handbags or have a few of them that come out on special occasions, then it would behoove you to stuff your bag with terry cloths or some filling material. It will keep its shape for a lifetime.
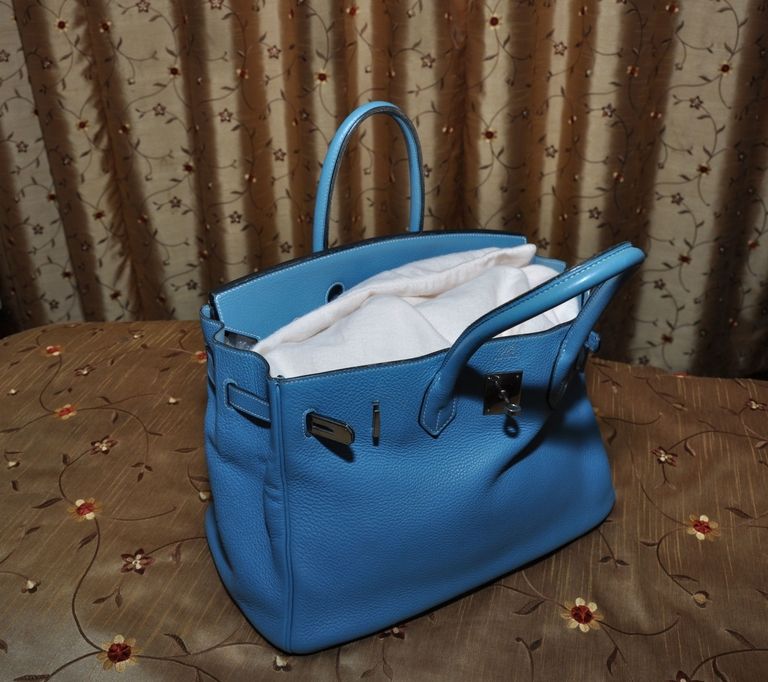
Keep your handbag stuff when not using it. Photo: Handbag Clinic
- Grease Stains. Just wipe them off. Using water or liquid will simply make them a mess to clean up.
- On tougher dirt and ground in problem areas, use a professional leather cleaning agent. A good cream does not need to be rinsed (which could damage your bag further). You may find a bit higher investment in good leather conditioning creams, but like most things in life, they will perform far better.
“Use a leather conditioning/cleaning product that is made for the material your handbag is made out of.”
- Always use a product designed for use on your particular material. A general leather cleaner will not be as effective on a suede or nubuck interior than a product specifically designed for it. Just do your homework or consult with the manufacturer's recommendations.
- Spot testing is key. Always, always spot test a small area that out of sight. You would do the same thing before spraying Scotchgard™ on your brand new fabric couch. You should take the same care with your luxury leather handbag purchase. It's likely you paid more for it than the couch...
- Dust bags - use them! If your bag came with a dust bag, then you should probably ask yourself, why? Dust bags are not intended for nice branding and good looking packaging, they are intended to keep your handbag DUST-FREE when they are not being used.
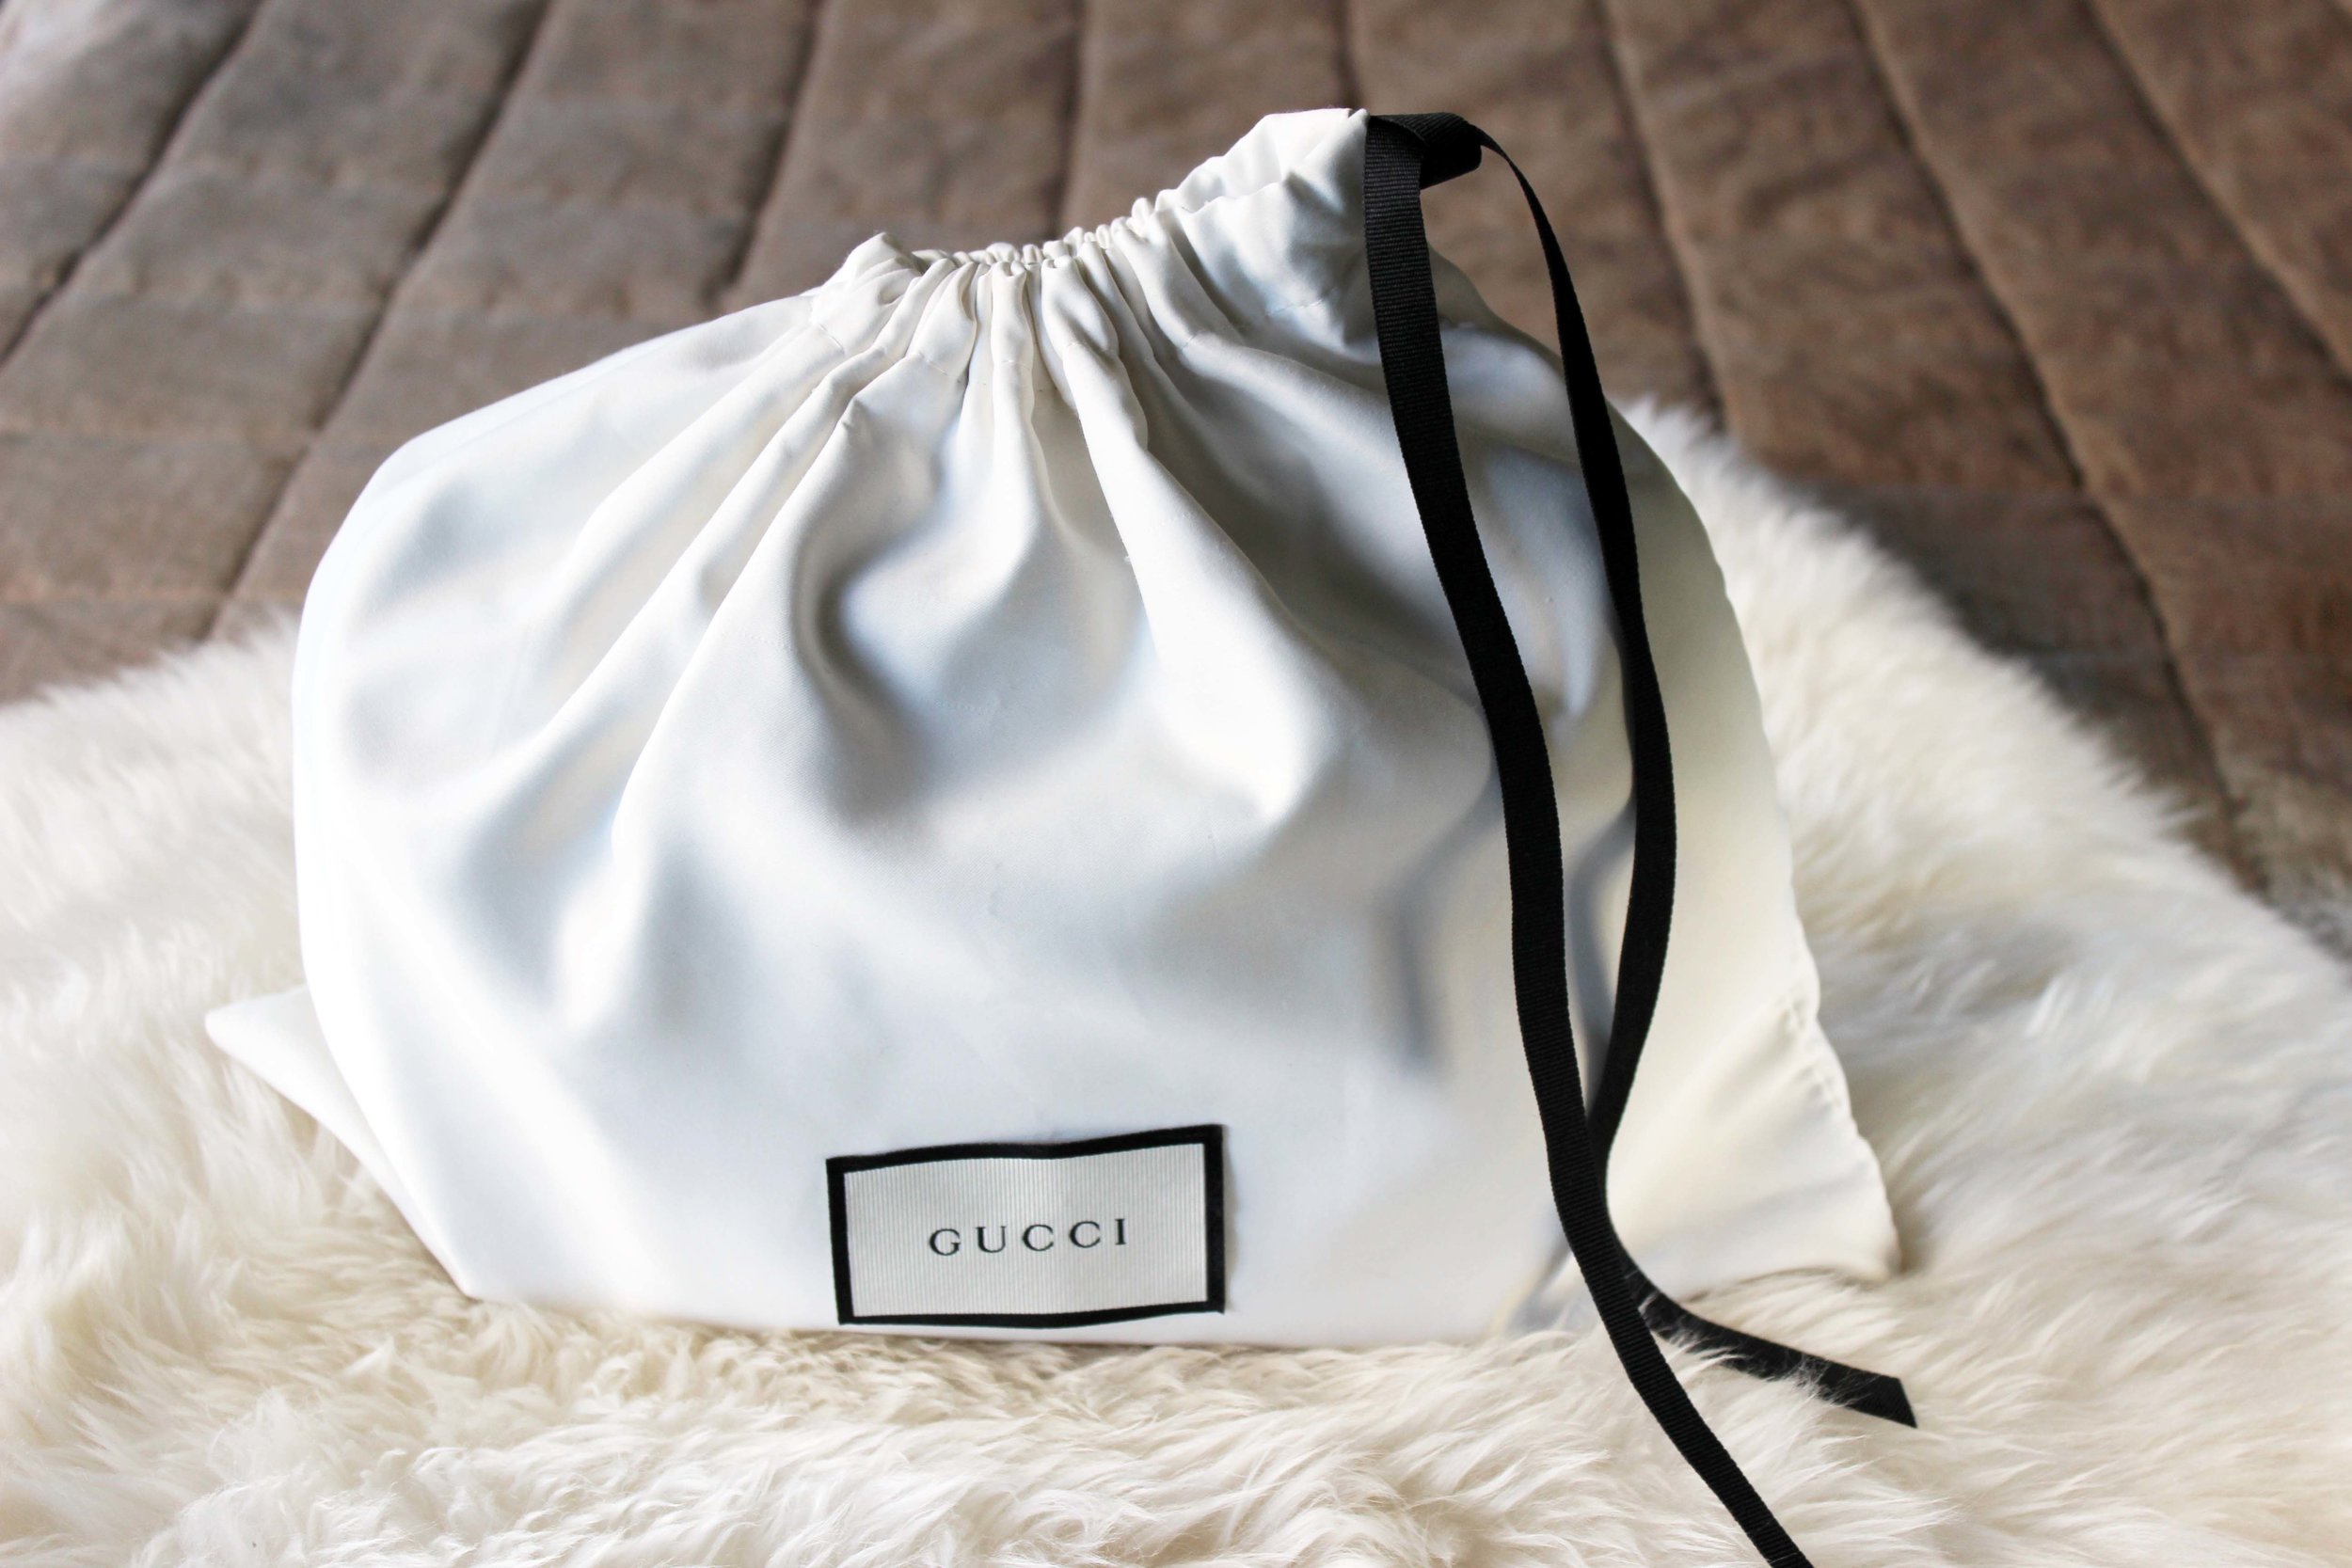
You can always use a pillow case or something similar if you don't have a dust bag.
- Sunlight. Don't leave your handbag in direct sunlight. Just like your good furniture, you wouldn't leave in the window in blazing sun every day. The same color fasting will occur.
- Do not use saddle soap. It will most likely be too strong for the leather on your bag and could cause it to discolor.
- Smelly bags... to forever banish lingering effluvia, put an open container of baking powder carefully inside your bag, place your bag into a dust bag or pillow case and leave it to sit for 24 hours. It should absorb that scent you didn't like.
For the Fashionistas...
You may not have thought of this, or maybe it has affected you already. Do not rock light color handbags with dark clothing. The dye from your dark clothing may run and transfer to the handbag. This is one of the single hardest stains to remove.
If you do end up with a really stubborn stain, try matching a shoe polish to the color of your bag and buffing a small amount over the affected area.
Want to hire a professional?

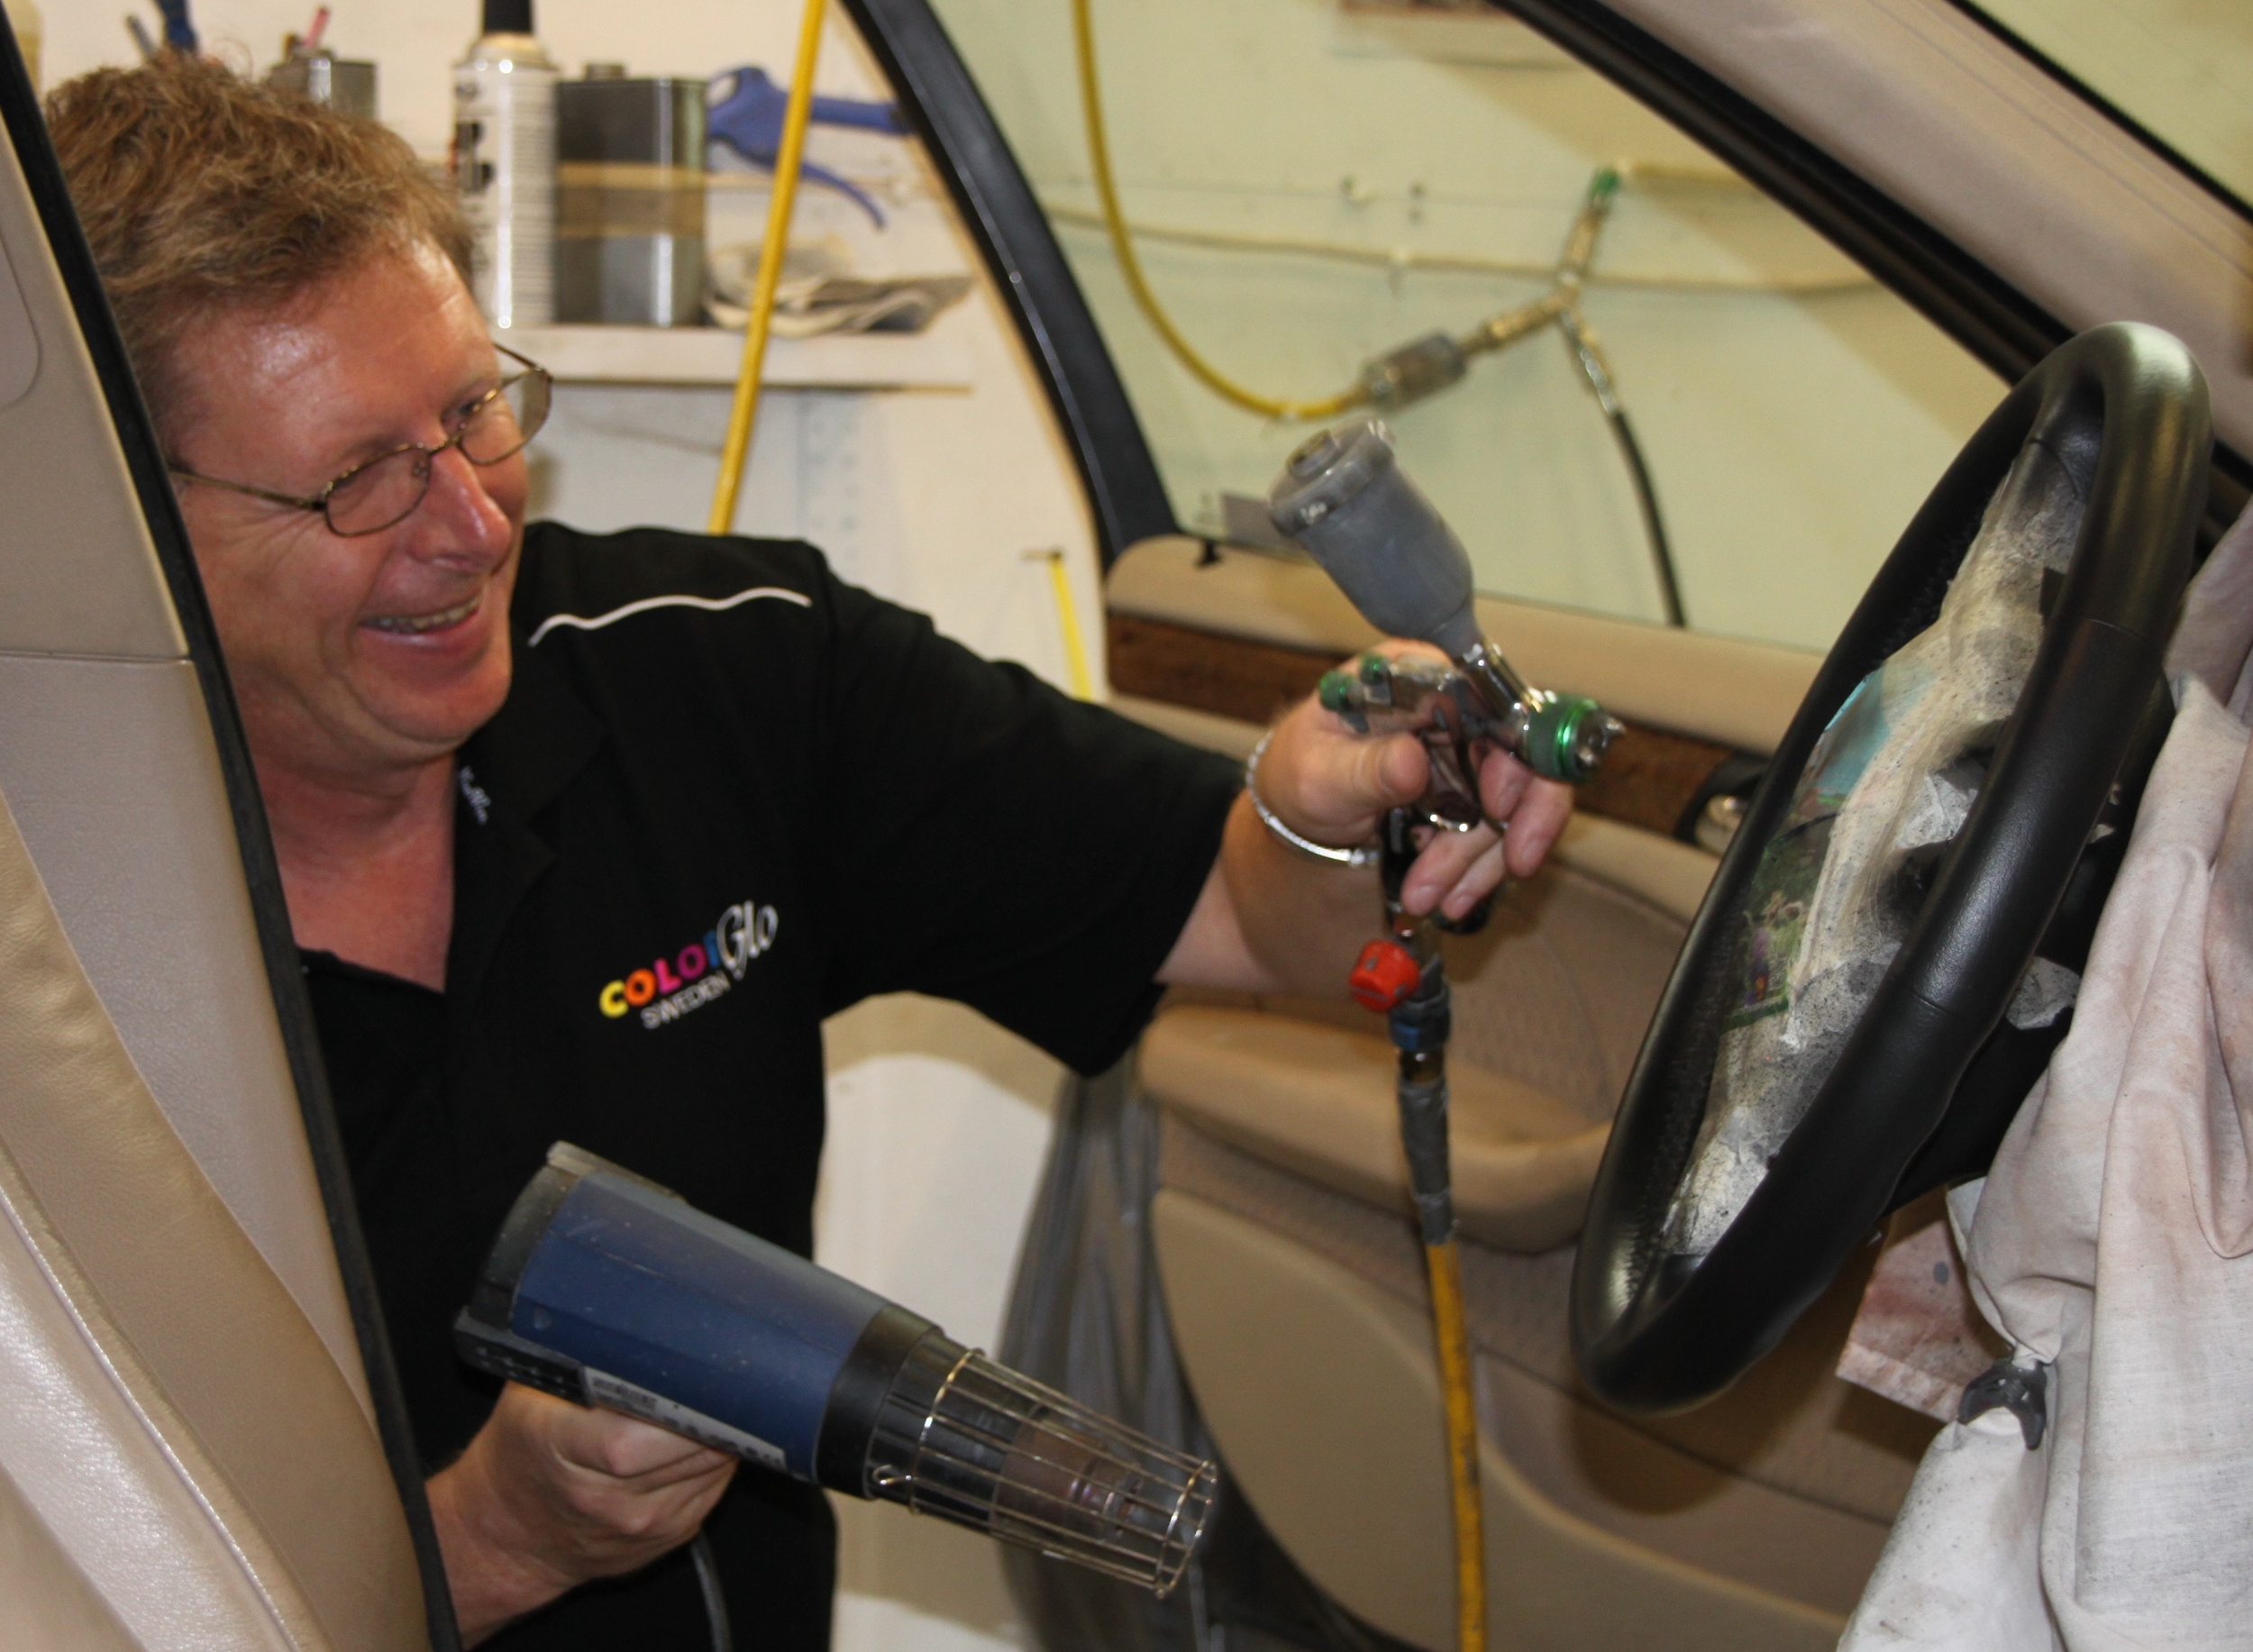
How to Clean Your Automobile's Interior Wood Trim
Wooden trim can really bring the class level of your automobile investments to a new level but if its not cleaned and cared for properly (like all other parts of your car) it will begin to look faded and tired, and can leave the overall impression of your interior looking drab.
Cleaning interior wooden trim
Ahh wooden trim... Think classic jaguar. Wooden trim can really bring the class level of your automobile investments to a new level but if its not cleaned and cared for properly (like all other parts of your car) it will begin to look faded and tired, and can leave the overall impression of your interior looking drab.
If your wooden trim is excessively dirty or has been left unattended and it has build up on it, then it should be thoroughly cleaned with a diluted all purpose cleaner and a microfiber towel. Using soft-bristled detailing brushes can also be used to access tight areas, corners and curves. It is important when using an all purpose cleaner that you ensure you thoroughly remove all residue and do not allow it to dry anywhere on the trim.

Next Step
After contaminants, dust, and grime have been cleaned off you will be able to see the true condition of the wooden trim. If it has become oxidized or lightly scratched/swirled over time you can polish it to remove these imperfections.
An all in one polish product made for the paintwork of your car may ideal for polishing wooden trim. A small amount should be applied to a sponge or microfiber applicator pad, then worked into the trim using both circular and linear motions. Once the polish has dried it should be buffed off with a soft microfiber towel.
“An all in one polish product made for the paintwork of your car may ideal for polishing wooden trim.”
While polishing your wood, you should be careful not to contaminate the surrounding trim with polish residue. In fact taping off the trim with painters tape may be a good idea depending on the car.
If the trim has been neglected over a considerable amount of time you may need to repeat the polishing process a number of times until the trim has been restored to a satisfactory standard.

Some classics may have wooden steering wheels.
What do I do now?
You've polished; what now? After polishing, your wooden trim can be waxed with a good quality natural carnauba based product. This will help to protect and seal the trim. It will also bring out the clarity of the grain in the wood and vastly enhance the reflections of the clear coat. The wax should be applied via a sponge or microfiber applicator pad, left to cure, then buffed off with a clean, soft microfiber towel. You'll want to ensure again that you do not contaminate any of the surrounding trim with wax residue or your job will become a bit more involved...
Maintenance is key
After your wooden trim has been cleaned, polished and protected it should be routinely maintained. Owning an automobile is either a passion or a pain for many people and wooden trim can increase your time invested. It needs be properly maintained along with the rest of the interior of your car to keep it looking its best. It should be vacuumed off using a soft brush attachment to remove any dust and loose contaminants, then wiped over with a soft microfiber towel and a detailing spray. Using a detailing spray works very well in maintaining interior wooden trim. You may want to read our other advice on how to clean the interior of your car.
If you find that you have a problem with your trim attracting allot of dust and other loose debris soon after it has been cleaned. This could be due to static that has been created from buffing it with a microfiber towel. A good way to combat this problem is to use an anti-static screen cleaner that is designed to clean computer monitors, mobile phone screens and other similar surfaces. The cleaner should be misted over the surface then lightly wiped over with a fine, soft lint free cloth.

For more reading, check out how to clean plastic exterior car parts.